Products You May Like
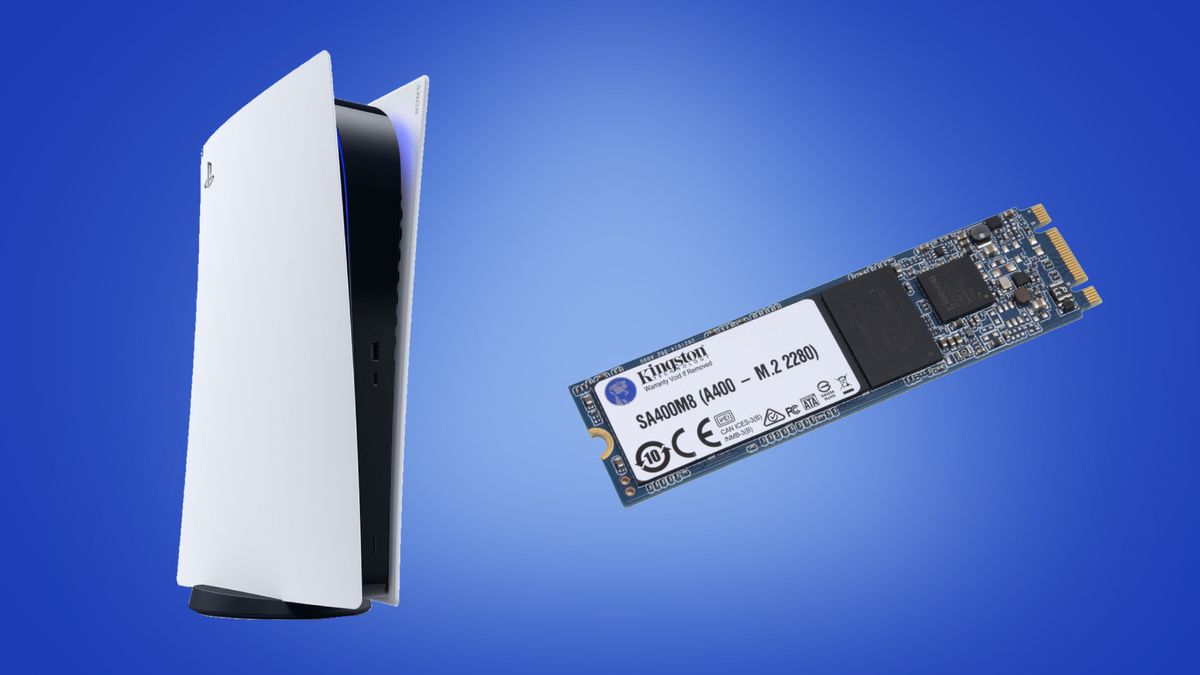
The PS5 might be a premium console that’s already loaded with fantastic exclusives so early in its lifespan. But games like Returnal, Horizon Forbidden West and Gran Turismo 7, while amazing, can very quickly fill up your PS5’s storage space due to immensely large file sizes.
Thankfully, a firmware update made available just under a year after the PS5 launched made it so that owners of Sony’s flagship hardware could install their own internal SSDs to greatly expand the storage space available on the console. The downside is that it also meant having to remove your PS5’s faceplates and getting more intimate with the system’s innards.
This is what initially put me off trying to install an internal SSD for my PS5. I’m heavy-handed at the best of times, so I’d drummed it into my own head that I’d surely need surgical precision to successfully install one of the best PS5 SSDs into my console, with one wrong move potentially bricking the system entirely.
I needn’t have been so cynical about it, as upon finally plucking up the courage to install my own internal SSD, I found that the whole process was more blissfully simple than I’d imagined it to be.
Installing a PS5 SSD – the full adventure

Legitimately the trickiest part of installing the PS5 SSD wasn’t actually the clicking and fixing the thing into place. Nor was it removing the SSD cover with a screwdriver. Nay, by far the most difficult part of the whole process turned out to be removing those damn faceplates from the PS5 itself.
Yet after spending a few minutes feeling like SpongeBob Squarepants, fruitlessly trying to pry the lid off a bottle of ketchup to get into the Salty Spitoon, I soon managed to slide the faceplate out of place, revealing what’s under the hood of the PS5.
But from there, the rest of the process proved to be delightfully simple. All that was left to do was grab a crosshead screwdriver and unscrew the protective lid under which the internal SSD is to be installed.
I grabbed my compatible M.2 SSD, attached the included passive heatsink, and carefully clicked it into place in the open slot. Then I just had to repeat the previous steps, albeit in reverse order, until the PS5’s faceplate was slotted back into place.
Upon plugging the PS5 back into the mains and switching it on, the console automatically went into an extremely brief SSD formatting process before returning to the familiar dashboard. And just like that, I had an entire extra terabyte of storage space available on my PS5.
How to install your own PS5 SSD
If you’ve just bought a compatible M.2 PS5 SSD, or are looking to buy one for yourself soon, here’s a quick step-by-step breakdown of the steps you’ll need to follow in order to install it. Ensure you have a crosshead screwdriver to hand before you begin the process, too.
- Completely turn off your PS5 by holding down the power button for a few seconds.
- Unplug the console, and lay it down on a flat surface. The faceplate with the PlayStation logo should be face down.
- Remove the top faceplate by gently lifting the top end with one hand. With the other, firmly grab the bottom of the PS5 and slide the faceplate downwards until it releases.
- With the faceplate removed, grab your crosshead screwdriver and unscrew the protective lid, under which you’ll insert your PS5 SSD.
- Unscrew the smaller screw you’ll find under the protective lid. We’ll need this to screw the SSD into place afterwards.
- Ensure that the protective heatsink is firmly attached to the top of the SSD, and carefully slot it into place. You should hear a small slick when you’ve done so.
- Take the smaller screw from a couple of steps ago, and find the opening that overlaps with the back end of your SSD. Screw it into place to firmly secure the SSD in the slot.
- Now repeat the processes in reverse, from reattaching the protective lid to putting the faceplate back onto your PS5.
- Plug your console back into the mains and switch it on. Follow the on-screen instructions to format the SSD and prep it for use with your PS5.
And with that, you’re almost done. Finally, you’ll need to go into your Storage Settings on PS5, and manually select your PS5 SSD as your preferred internal storage device, to ensure your downloads are stored on your new SSD as opposed to the one already built into the console.
As a last step for peace of mind, you may want to download a game from your library onto the internal SSD, just to make sure everything works as intended, which if you follow the above steps, it should.
How to enable 120Hz on PS5 | How to change your PSN name | How to turn off adaptive triggers and haptic feedback | How to enable PS5 3D audio for TV speakers | How to upgrade PS5 internal SSD storage | How to clear the cache on PS5 | How to turn off a PS5 | How to use a PS4 controller on PS5
